Once you are logged in the Client Dashboard application you will be able to see a menu item on the left, called "Integrations". If you are not seeing it then it means that this feature was not activated for your company or your user does not have access to it.
Selecting it will lead you to the below screen:
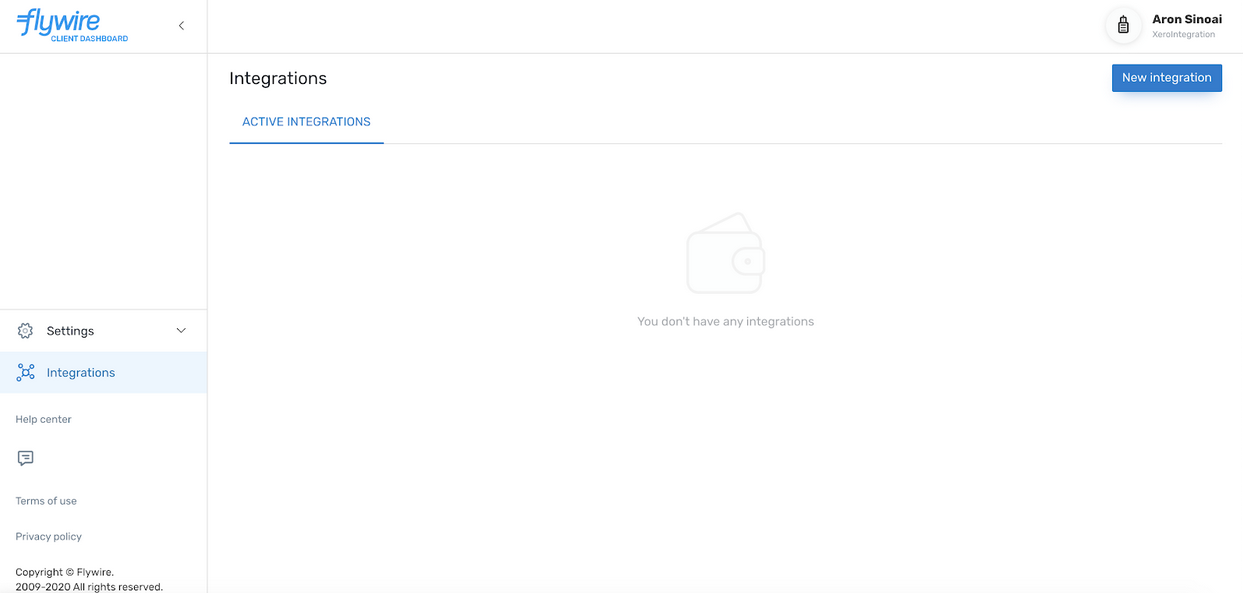
By clicking the button "New Integration" from the right, you will be able to supply all the needed info to create a new Xero integration.
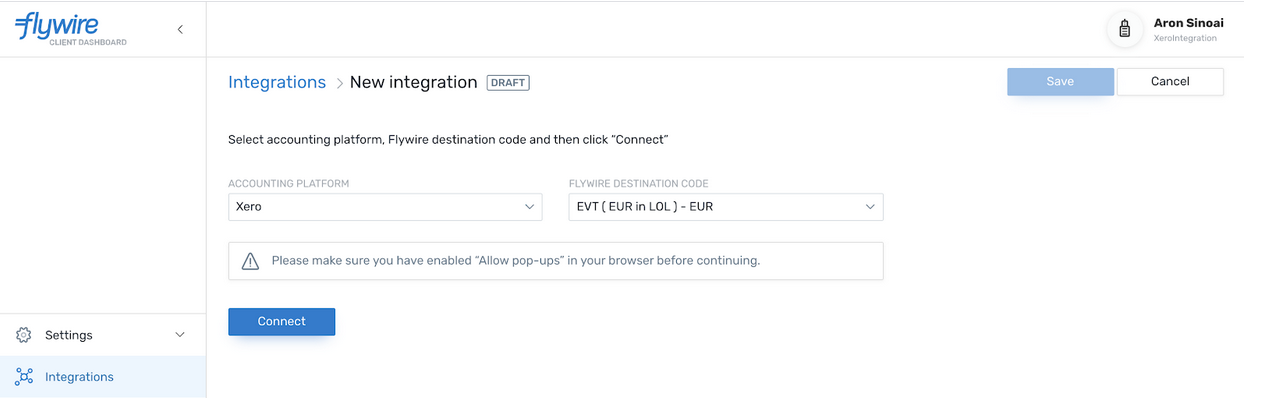
The selected accounting platform should be Xero and you will have to select the Flywire portal of your choice, which you want to link with Xero. If you have multiple portals, you will need to create separate integrations for each of them.
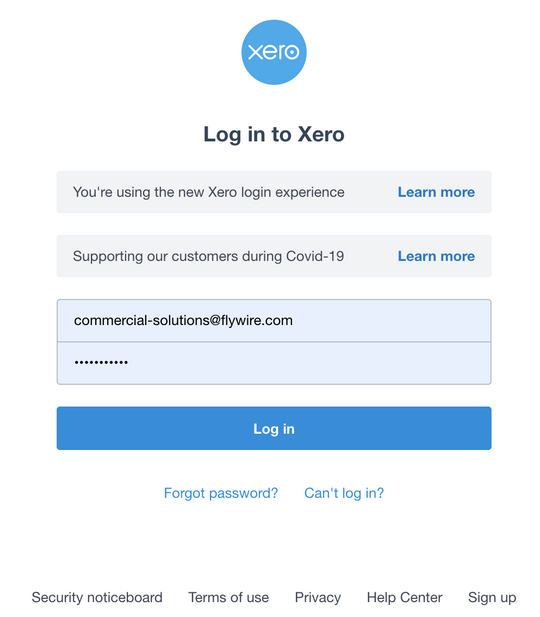
Before saving the new integration, you will have to press the button "Connect" and provide access for Flywire to your Xero account by entering your credentials. Please make sure that you have enabled "Allow pop-ups" in your browser before continuing.
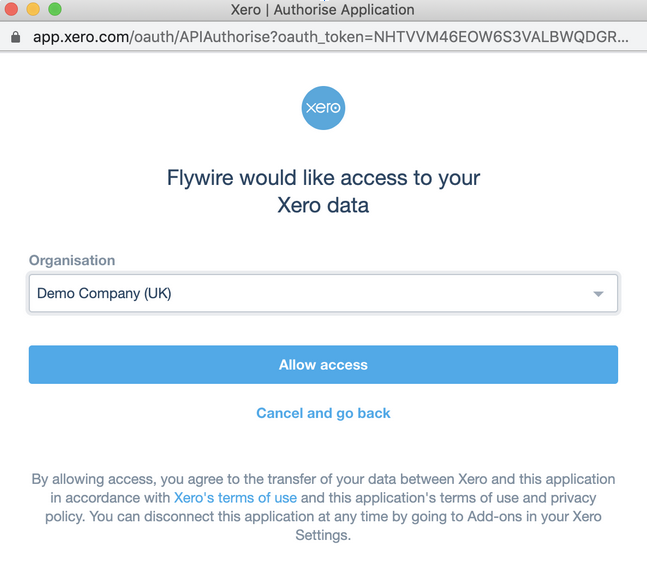
Please note that in case you have multiple organizations in your Xero account, you will have to choose the organization as well.
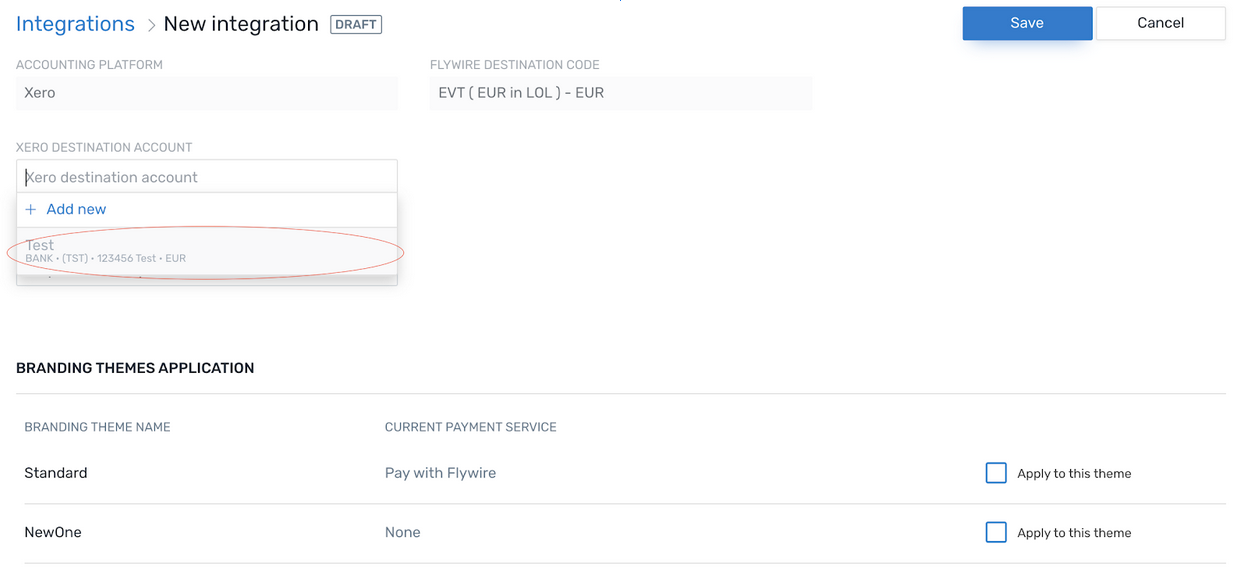
Once the connection to Xero has been established, you can select the destination account. If you have not created your destination account yet, follow the guide here. When your customers pay invoices using this integration, we will automatically create the payments in the selected destination account.
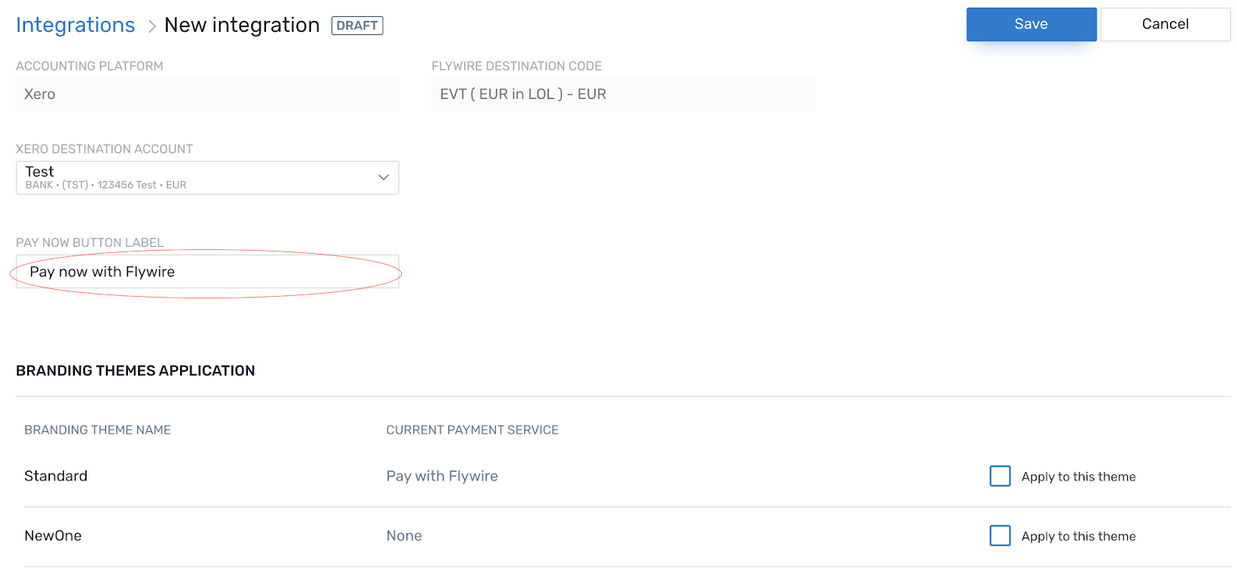
You can also specify here the label of the "Pay" button, which will appear on the invoices that have this integration. The default value is "Pay now with Flywire".
Lastly, you can select the invoice branding theme this button should have.
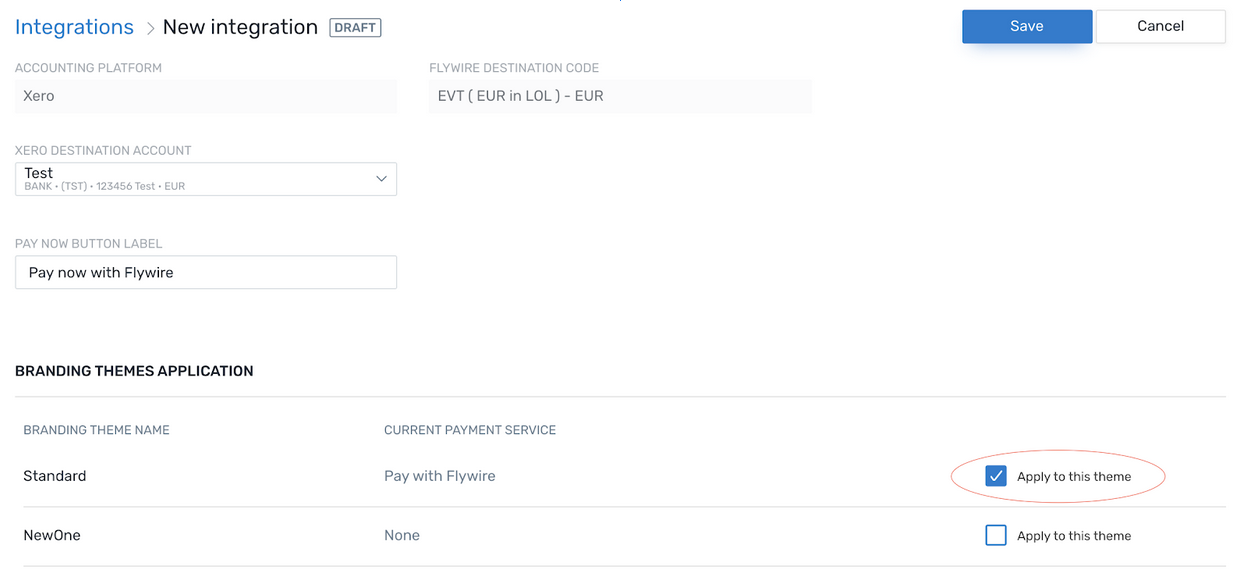
When you are ready with the configuration, you can press the button "Save" and your first Xero integration will be ready to be used.
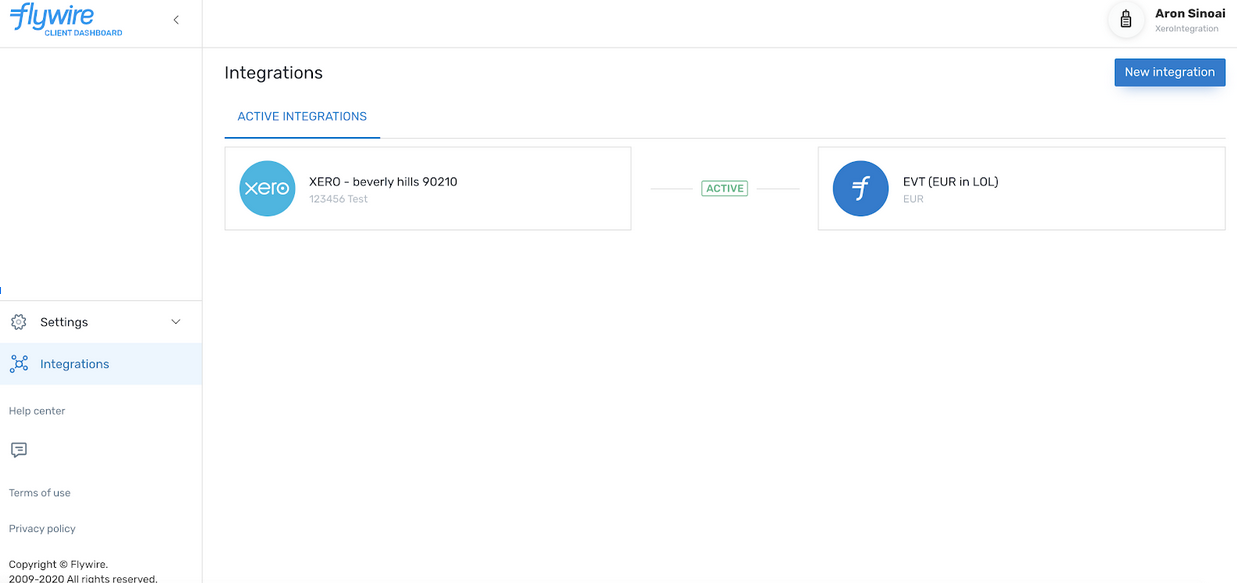
You can leave this application for now, because we have an ACTIVE integration and everything is set up to create invoices from Xero that have the "Pay with Flywire" button on it.